Let’s Encrypt Support
SupportSystem now supports Let’s Encrypt certificates for custom domains.
The key benefits of the Let’s Encrypt certificates include:
- Cost-free
- No installation/upload required on your end
- No dedicated IP required
- Trusted by all major browsers
- Auto renewable
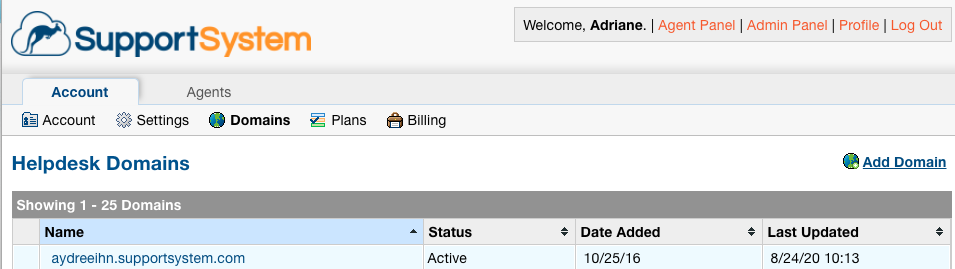
Agents with access to the Account Panel can set up a Custom Domain with a Let’s Encrypt certificate by going to:
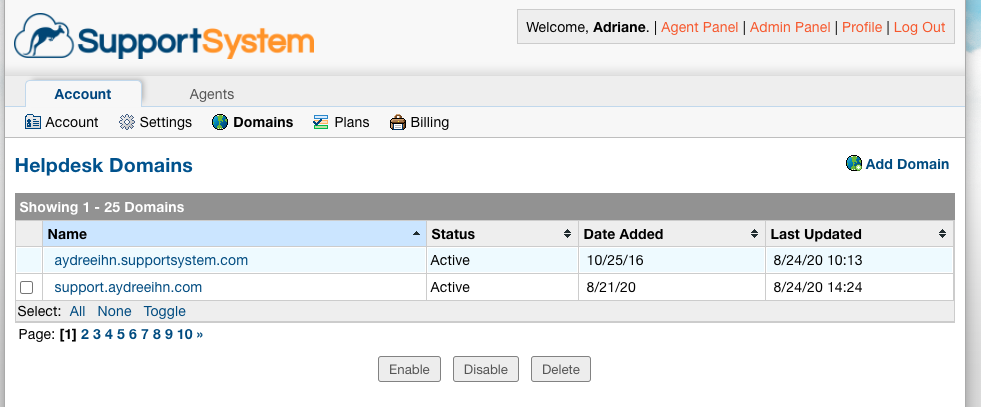
Account Panel | Domains | Add Domain
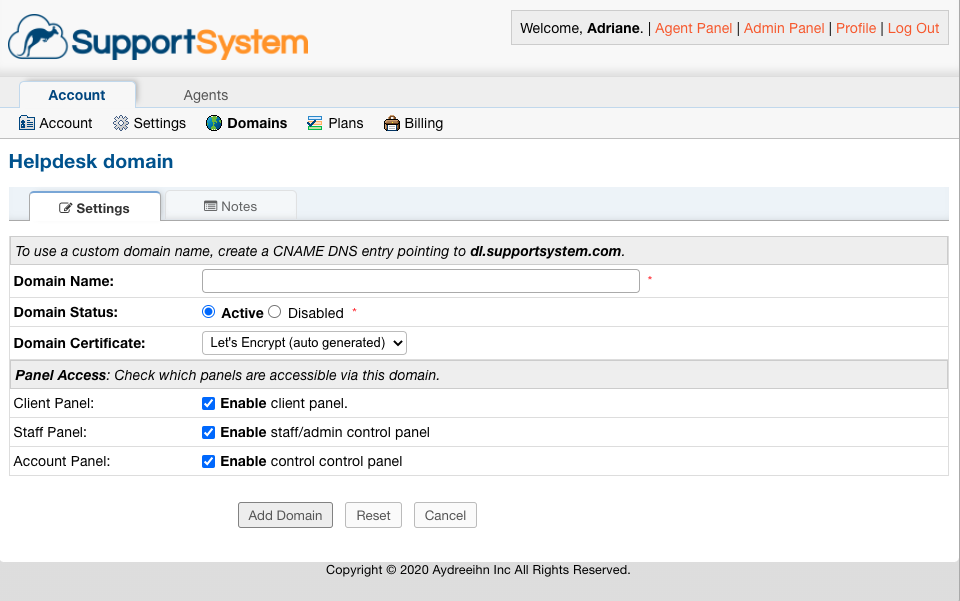
In order to create your certificate, you will need to create a CNAME DNS entry for the custom domain you want to use.
This is something you will configure outside of SupportSystem for a domain that you own.

Note: It can sometimes take several minutes for your CNAME entry to register and apply for your custom domain.
Once you have added a CNAME record, save your Custom Domain and make sure it is set to active.
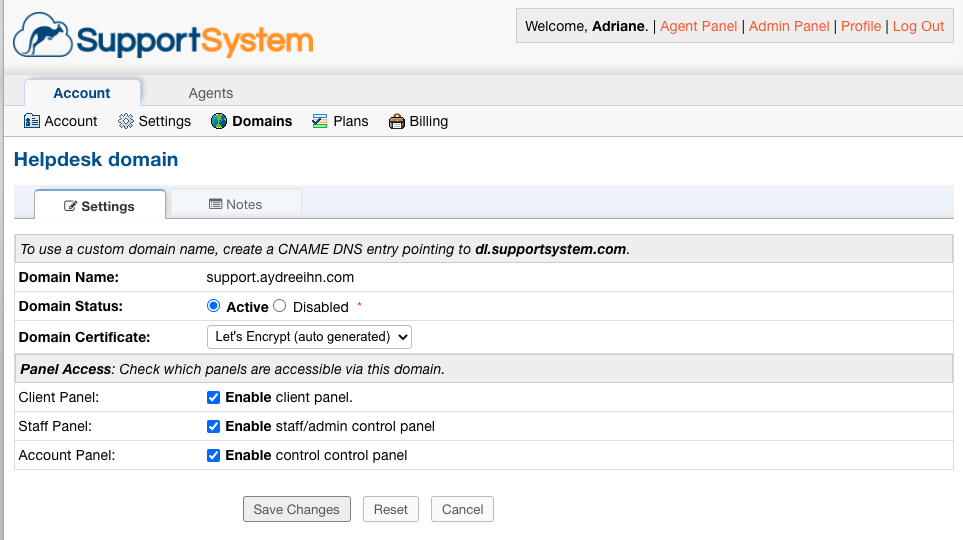
Now, when you visit your custom domain, it should show a valid Let’s Encrypt certificate.
Finally, you can set your custom domain as the Default Domain by going to:
Account Panel | Settings
